LibGDX Tutorial - A Running Game with libGDX - Part 1
• •
I’ve always liked 2d running games. When I first got an Android phone, I played iRunner for hours, and at the time I seriously wanted to develop a game like that. A lot of time has passed since but I finally had the time to put together a simple, running game using libGDX. A final version based on this tutorial is on Google Play.
LibGDX is one of the nicest projects I’ve followed over the past few years and when I began looking into different video game development frameworks, it was definitely the one that provided the most features and provided the best performance for my then crappy phone :). If you have time, I recommend reading its creator’s post on releasing version 1.0.
I developed this game as a learning exercise using libGDX’s scene2d and box2d libraries on my spare time. The code is by no means perfect, but I hope it helps you get on the right track if you are looking to develop The Next Awesome Game. Also, even though libGDX is a cross-platform framework, I only targeted Android as my final release platform and I targeted desktop for testing purposes.
NOTE: I won’t be explaining much related to libGDX or box2d as they already have excellent documentation. I’m only guiding you through my own implementation of a game using these tools. If you don’t understand why I’m using a particular class or what a physics body is I strongly suggest taking a look at libGDX’s wiki before moving forward.
This tutorial guides you through the basics of how I implemented the game. The code from these posts is on GitHub. You are free to use it as you wish.
Before we start writing any code, let’s take a look at the game concept.
Martian Run!
This is the silly story I came up with: You are an alien and giant insects are attacking your city! Your goal is to escape by running as much as you can while avoiding all insects.
Game Controls
There are only to ways of avoiding insects: jumping and dodging. The jump button will be the right side of the screen and the dodge button will be the left side of the screen.
With our awesome design done, let’s build the game!
Creating the Project
Let’s set up a new project using the gdx-setup tool they offer. We’ll be using box2d, so make sure to include the extension during the setup. Like I said before, I’m only targeting Android as my build platform and will use desktop for testing, so no iOS or HTML.
This is what my setup looks like:
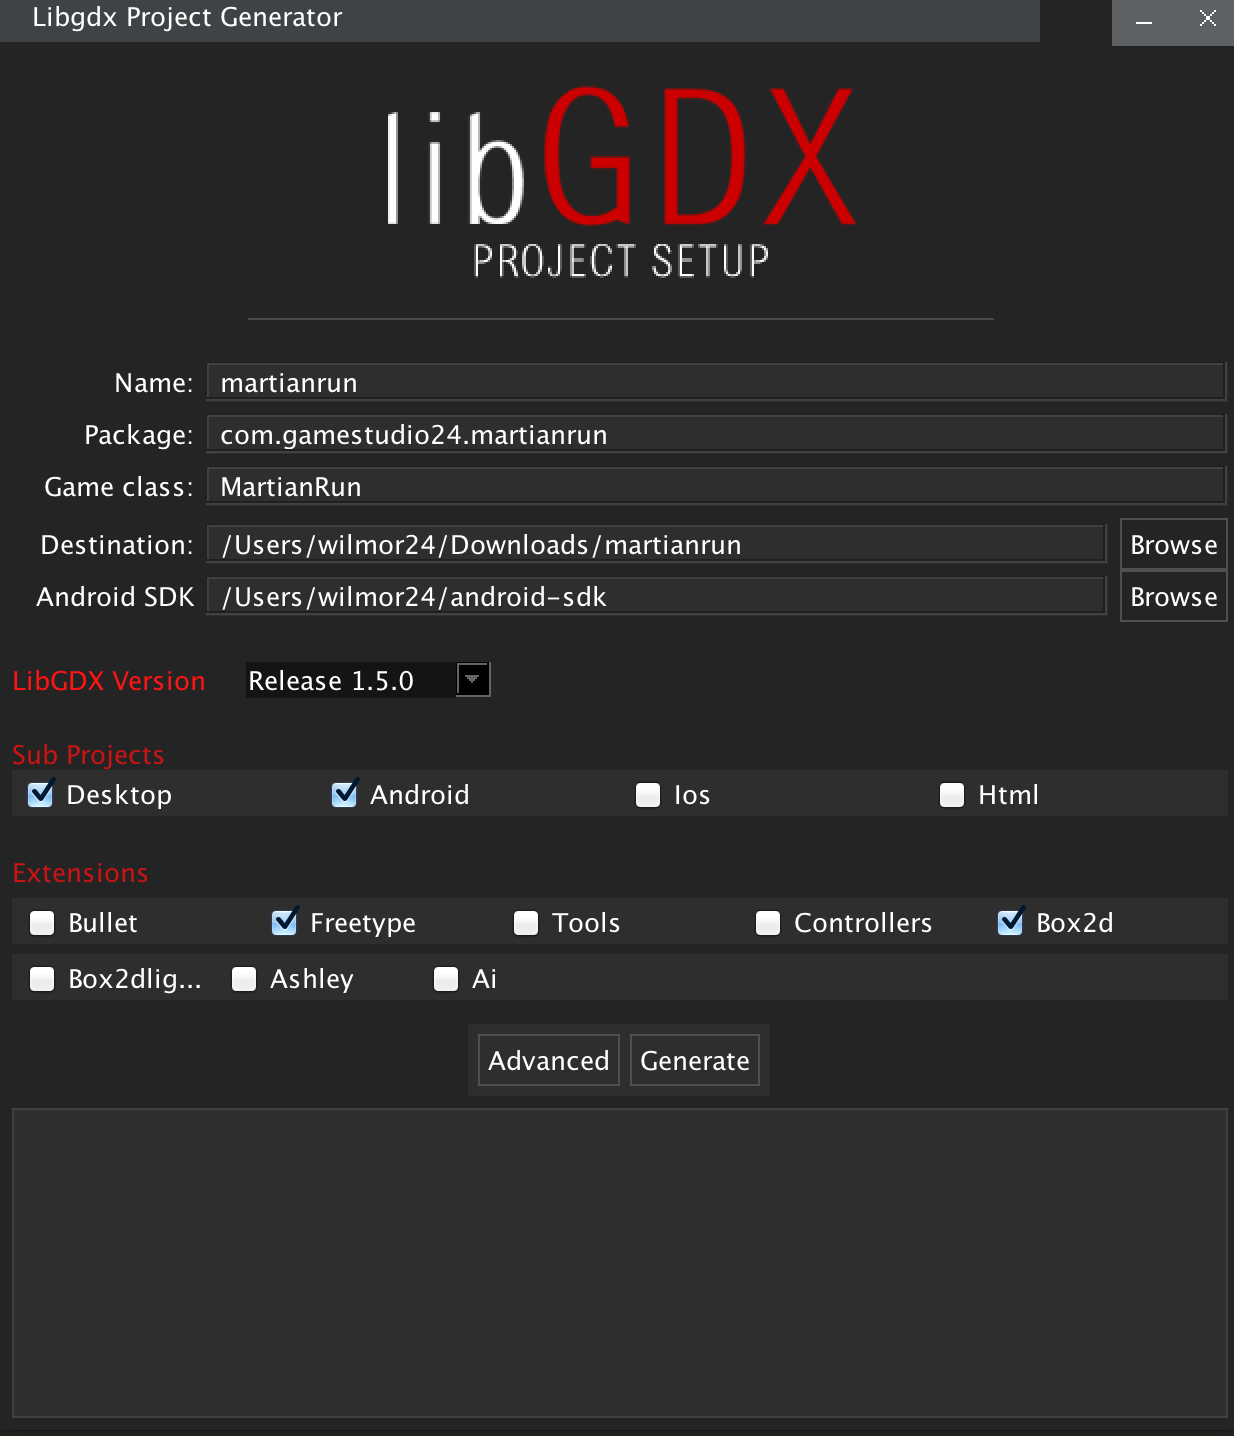
Once you click on Generate the Gradle clean task will run and all libraries will be downloaded. You should see an output like the following:
Generating app in /Users/wilmor24/Downloads/martianrun
Executing '/Users/wilmor24/Downloads/martianrun/gradlew clean --no-daemon'
To honour the JVM settings for this build a new JVM will be forked. Please consider using the daemon: http://gradle.org/docs/2.2/userguide/gradle_daemon.html.
Parallel execution with configuration on demand is an incubating feature.
:android:clean
:desktop:clean
:core:clean UP-TO-DATE
:desktop:clean UP-TO-DATE
:android:clean UP-TO-DATE

BUILD SUCCESSFUL

Total time: 12.395 secs
Done!
To import in Eclipse: File -> Import -> Gradle -> Gradle Project
To import to Intellij IDEA: File -> Import -> build.gradle
To import to NetBeans: File -> Open Project...
I won’t go over importing the project into an IDE since it’s part of a libGDX project setup and it is up to you which IDE to use (in case you are wondering, I’m using IntelliJ IDEA 14 at the time of this writing).
After successfully running the game in both desktop and Android, I usually clean up the boilerplate code set up by libGDX. That means, deleting the image badlogic.jpg that is added to the assets folder and leaving my game class like the following:
package com.gamestudio24.martianrun;

import com.badlogic.gdx.ApplicationAdapter;

public class MartianRun extends ApplicationAdapter {

    @Override
    public void create() {

    }

    @Override
    public void render() {

    }
}
Getting Started
The first thing we’ll do is to make our game class extend Game so we can support multiple screens. We won’t be using multiple screens for this game but I suggest doing this part in case you want to add multiple screens in the future, e.g. for a splash screen, separate menu screen, leaderboards, etc.
My game class now looks like this:
package com.gamestudio24.martianrun;

import com.badlogic.gdx.Game;

public class MartianRun extends Game {

    @Override
    public void create() {

    }

    // Get rid of render function, let the parent class handle it

}
Now create a GameScreen class inside a newly created screens package:
NOTE: Assume all classes/packages are being added/modified inside our core module unless otherwise noted
package com.gamestudio24.martianrun.screens;

import com.badlogic.gdx.Screen;

public class GameScreen implements Screen {

    @Override
    public void render(float delta) {

    }

    @Override
    public void resize(int width, int height) {

    }

    @Override
    public void show() {

    }

    @Override
    public void hide() {

    }

    @Override
    public void pause() {

    }

    @Override
    public void resume() {

    }

    @Override
    public void dispose() {

    }

}
Once created, we need to make our game class set our GameScreen on startup.
package com.gamestudio24.martianrun;

import com.badlogic.gdx.Game;
import com.gamestudio24.martianrun.screens.GameScreen;

public class MartianRun extends Game {

    @Override
    public void create() {
        setScreen(new GameScreen());
    }

}
The last thing we need to do for our setup is to set the height and width of our game. We’ll make this game 480x800. Let’s store these values in a Constants class inside a utils package.
package com.gamestudio24.martianrun.utils;

public class Constants {

    public static final int APP_WIDTH = 800;
    public static final int APP_HEIGHT = 480;

}
Finally, configure our DesktopLauncher so it uses the correct measurements:
package com.gamestudio24.martianrun.desktop;

import com.badlogic.gdx.backends.lwjgl.LwjglApplication;
import com.badlogic.gdx.backends.lwjgl.LwjglApplicationConfiguration;
import com.gamestudio24.martianrun.MartianRun;
import com.gamestudio24.martianrun.utils.Constants;

public class DesktopLauncher {
    public static void main (String[] arg) {
        LwjglApplicationConfiguration config = new LwjglApplicationConfiguration();
        config.width = Constants.APP_WIDTH;
        config.height = Constants.APP_HEIGHT;
        new LwjglApplication(new MartianRun(), config);
 }
}
Go ahead and run the project. So far, we have set up a game with a screen running on a 480x800 window.
A Stage for a Physics World
Now we’ll start creating our physics world. It’ll consist of a ground, a runner, and enemies. Even though our runner will be the one running through the city, we won’t be actually moving our runner body along the x-axis but make the enemies move towards the runner to while giving the illusion he is moving forward with sprite animations.
Box2d makes it easy to control bodies and control their physics, such as jumping, colliding, moving, etc. If you don’t know box2d at all, I recommend taking a quick look at its documentation.
Our bodies will be created as follows:
- Ground: Static body
- Runner: Dynamic body
- Enemies: Kinematic bodies
Let’s make a class that takes care of creating our bodies. Create a WorldUtils class inside our utils package and create a function to set up the ground.
package com.gamestudio24.martianrun.utils;

import com.badlogic.gdx.math.Vector2;
import com.badlogic.gdx.physics.box2d.Body;
import com.badlogic.gdx.physics.box2d.BodyDef;
import com.badlogic.gdx.physics.box2d.PolygonShape;
import com.badlogic.gdx.physics.box2d.World;

public class WorldUtils {

    public static World createWorld() {
        return new World(Constants.WORLD_GRAVITY, true);
    }

    public static Body createGround(World world) {
        BodyDef bodyDef = new BodyDef();
        bodyDef.position.set(new Vector2(Constants.GROUND_X, Constants.GROUND_Y));
        Body body = world.createBody(bodyDef);
        PolygonShape shape = new PolygonShape();
        shape.setAsBox(Constants.GROUND_WIDTH / 2, Constants.GROUND_HEIGHT / 2);
        body.createFixture(shape, Constants.GROUND_DENSITY);
        shape.dispose();
        return body;
    }

}
The new constants added to our Constants class are the following:
package com.gamestudio24.martianrun.utils;

import com.badlogic.gdx.math.Vector2;

public class Constants {

    public static final int APP_WIDTH = 800;
    public static final int APP_HEIGHT = 480;

    public static final Vector2 WORLD_GRAVITY = new Vector2(0, -10);

    public static final float GROUND_X = 0;
    public static final float GROUND_Y = 0;
    public static final float GROUND_WIDTH = 25f;
    public static final float GROUND_HEIGHT = 2f;
    public static final float GROUND_DENSITY = 0f;

}
Let’s take a look at what we just did. We defined a utility class WorldUtils which will take care of creating our world components. For now we’ll only create the ground and the world itself. The ground is created as a static body with a width of 25 meters and a height of 2 meters and it is created as a box. In fact, all of our bodies will be boxes of different shapes.
The world is created with a gravity of -10 m/s^2. Box2d works best when using real physics values. In fact, the documentation warns the engine to be buggy if using exaggerated world values.
Ok, so we have these functions to create a world and the ground, but where do we use them? We could use them inside our GameScreen; instead, we will add them to a Stage which will be added to the GameScreen. A Stage is part of scene2d and is an input processor that can hold many Actor objects and handle their drawing and input events. We will add Actors later on but it is better to set up the Stage now so we don’t have to move the code from the GameScreen later on.
Create a GameStage inside a stages package. This class will extend libGDX’s Stage class. In the constructor, we’ll use our WorldUtils class to create the world and the ground. At this point, we will be using the Box2DDebugRenderer to display what we have created so far. We’ll use sprites later on once we are comfortable with the physics. The code is the following:
package com.gamestudio24.martianrun.stages;

import com.badlogic.gdx.graphics.OrthographicCamera;
import com.badlogic.gdx.physics.box2d.Body;
import com.badlogic.gdx.physics.box2d.Box2DDebugRenderer;
import com.badlogic.gdx.physics.box2d.World;
import com.badlogic.gdx.scenes.scene2d.Stage;
import com.gamestudio24.martianrun.utils.WorldUtils;

public class GameStage extends Stage {

    // This will be our viewport measurements while working with the debug renderer
    private static final int VIEWPORT_WIDTH = 20;
    private static final int VIEWPORT_HEIGHT = 13;

    private World world;
    private Body ground;

    private final float TIME_STEP = 1 / 300f;
    private float accumulator = 0f;

    private OrthographicCamera camera;
    private Box2DDebugRenderer renderer;

    public GameStage() {
        world = WorldUtils.createWorld();
        ground = WorldUtils.createGround(world);
        renderer = new Box2DDebugRenderer();
        setupCamera();
    }

    private void setupCamera() {
        camera = new OrthographicCamera(VIEWPORT_WIDTH, VIEWPORT_HEIGHT);
        camera.position.set(camera.viewportWidth / 2, camera.viewportHeight / 2, 0f);
        camera.update();
    }

    @Override
    public void act(float delta) {
        super.act(delta);

        // Fixed timestep
        accumulator += delta;

        while (accumulator >= delta) {
            world.step(TIME_STEP, 6, 2);
            accumulator -= TIME_STEP;
        }

        //TODO: Implement interpolation

    }

    @Override
    public void draw() {
        super.draw();
        renderer.render(world, camera.combined);
    }

}
You probably noticed the Fixed timestep comment inside the render function. Like the libGDX box2d documentation says, stepping the simulation is a topic itself. I followed this article to implement my version of fixed timestep. We probably need to implement interpolation as well, but I’ll leave it as a TODO for now.
Finally, let’s launch our GameStage inside our GameScreen. We’ll be calling act and draw inside the render function:
package com.gamestudio24.martianrun.screens;
import com.badlogic.gdx.Gdx;
import com.badlogic.gdx.Screen;
import com.badlogic.gdx.graphics.GL20;
import com.gamestudio24.martianrun.stages.GameStage;
public class GameScreen implements Screen {
private GameStage stage;
public GameScreen() {
stage = new GameStage();
}
@Override
public void render(float delta) {
//Clear the screen
Gdx.gl.glClear(GL20.GL_COLOR_BUFFER_BIT);
//Update the stage
stage.draw();
stage.act(delta);
}
//Rest of the code
...
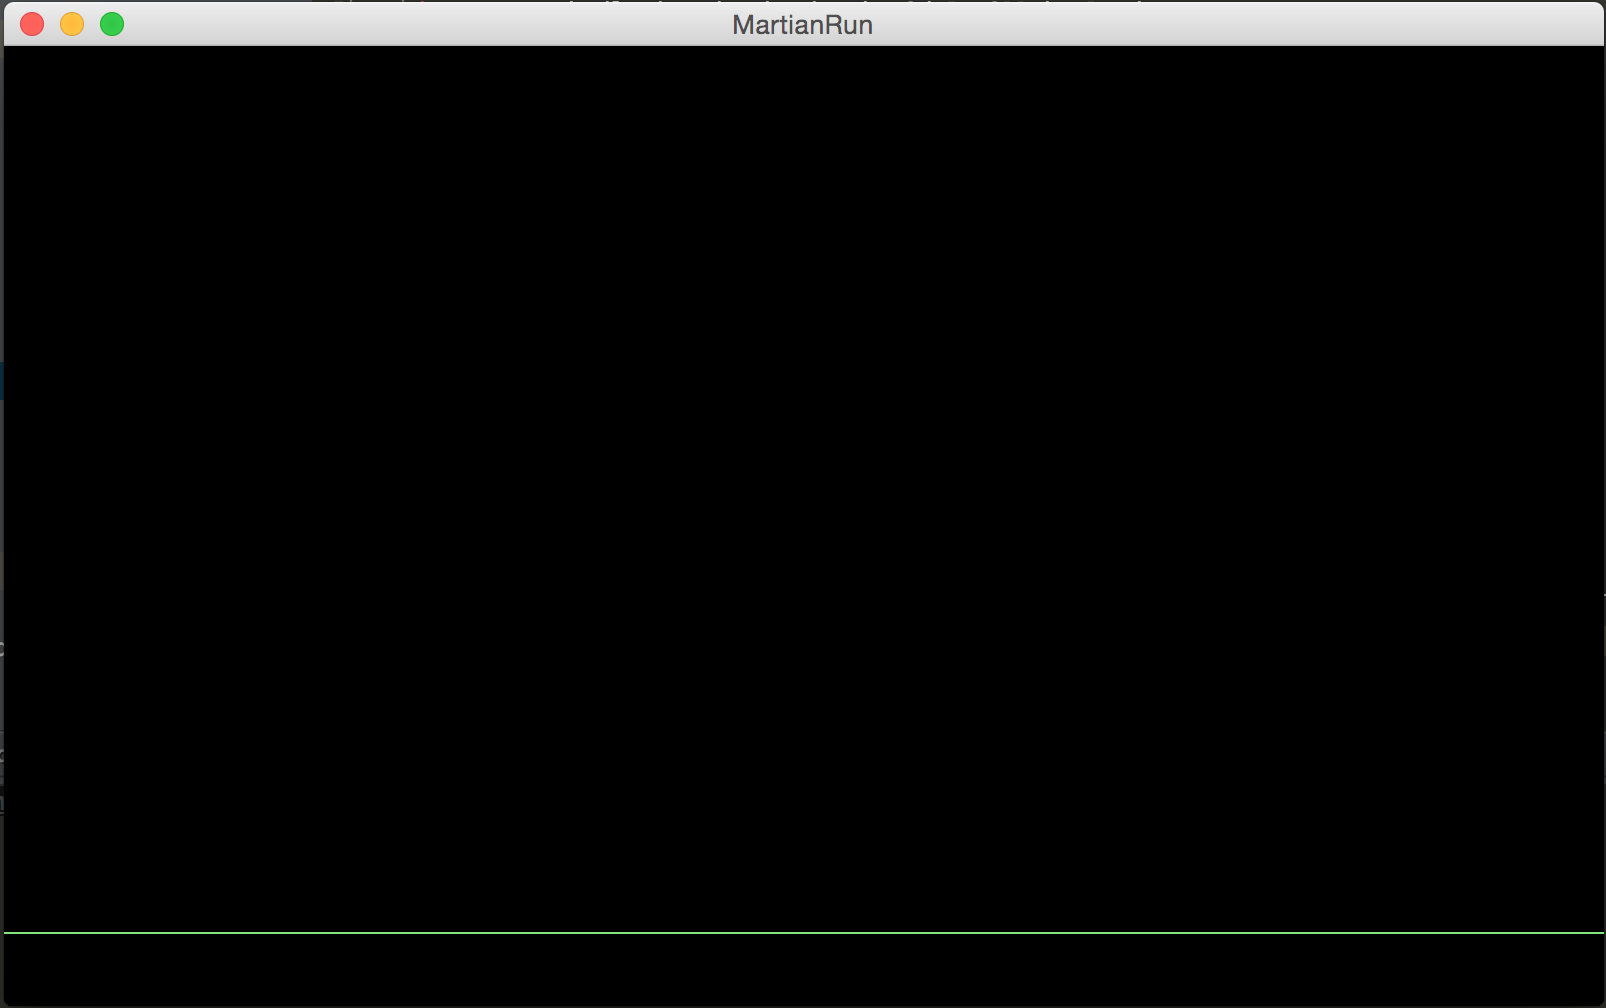
}Run the game and you’ll see a green line at the bottom which is the outline of the box we added to our world (the ground). Your game should look like the image below:
In the next part, we’ll add our runner with some basic controls.
If you have any questions or comments, feel free to let me know in the comments section.
Cheers!